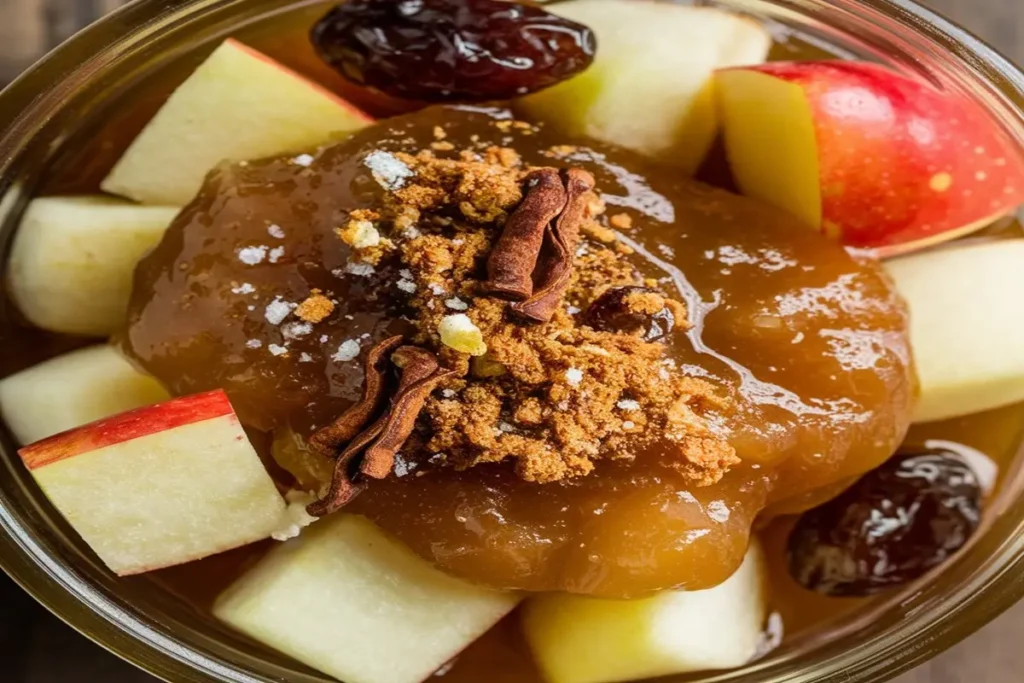
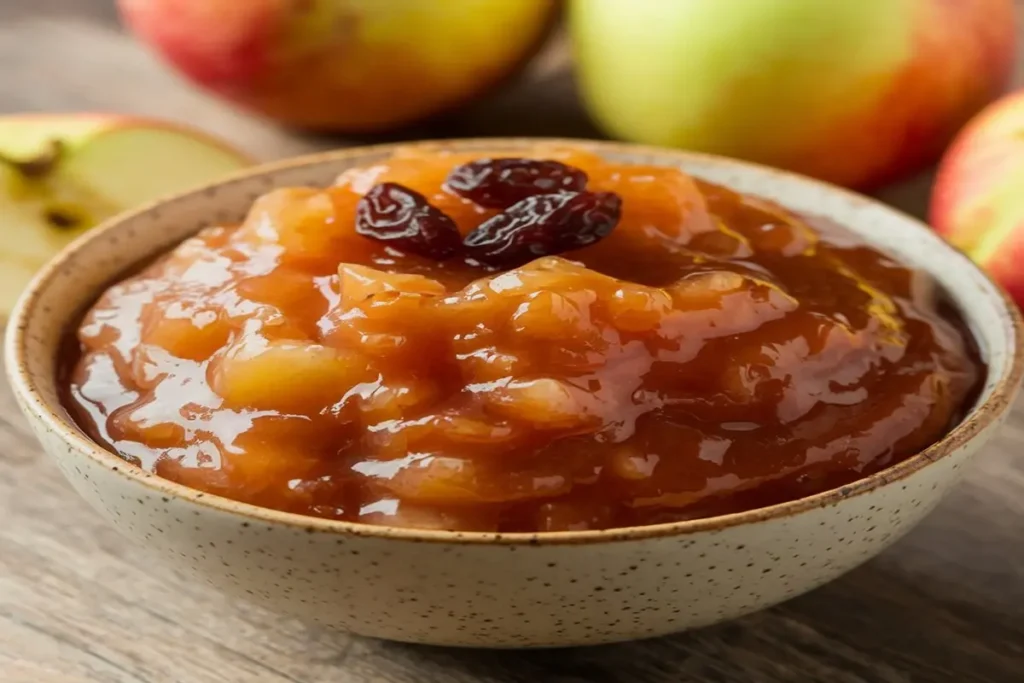
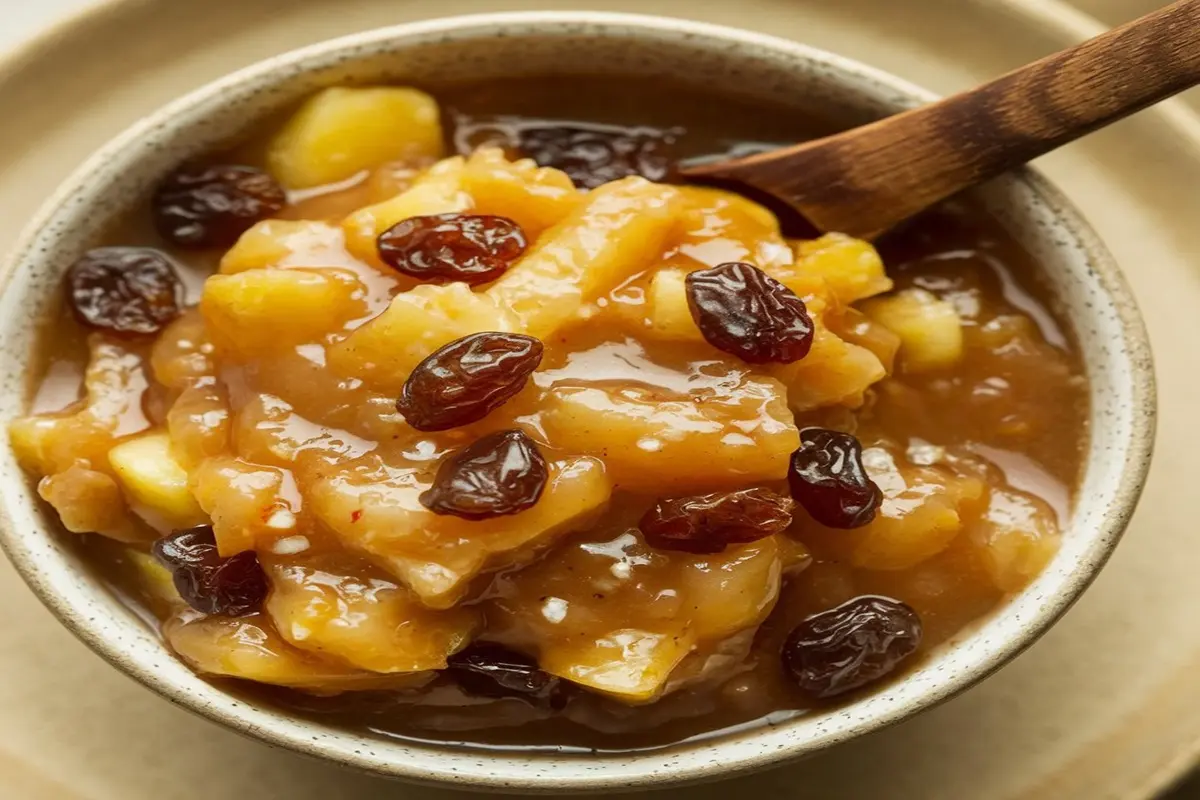
Discover how to make a delicious apple chutney with our easy-to-follow recipe. Perfect for beginners, this tangy-sweet condiment pairs well with cheese, meats, and more!
Introduction:
Did you know that apple chutney has been tantalizing taste buds for centuries? This delightful condiment, with its roots in India, has spread its tangy-sweet magic across the globe. I’ll never forget the first time I tasted homemade apple chutney – it was like a flavor explosion in my mouth!
As a self-proclaimed condiment enthusiast (yes, that’s a thing!), I’ve spent years perfecting my apple chutney recipe. And let me tell you, it’s been quite the journey! From overly sweet disasters to vinegary mishaps, I’ve made every mistake in the book. But fear not, dear reader! I’m here to share my hard-earned wisdom and guide you through creating the perfect apple chutney.
Whether you’re a seasoned chef or a kitchen newbie, this recipe is a game-changer. It’s so simple, you’ll wonder why you haven’t been making it all along. Trust me, once you’ve mastered this tangy-sweet delight, you’ll be slathering it on everything from cheese boards to Sunday roasts. So, roll up your sleeves, grab those apples, and let’s dive into the wonderful world of homemade apple chutney!
What is Apple Chutney?
Alright, let’s get down to the nitty-gritty – what exactly is apple chutney? Well, my friends, it’s basically magic in a jar! Okay, maybe that’s a bit of an exaggeration, but not by much. Apple chutney is a thick, chunky condiment that’s sweet, tangy, and oh-so-flavorful. It’s like applesauce’s cool, sophisticated cousin who’s traveled the world and picked up some spicy tricks along the way.
Now, I’ll be honest – when I first heard about chutney, I thought it was just a fancy name for jam. Boy, was I wrong! While jams are typically sweet and spreadable, chutneys are a whole different ballgame. They’ve got this amazing balance of sweet and savory that’ll make your taste buds do a happy dance.
The origins of chutney can be traced back to India, where it’s been a staple for thousands of years. But here’s the cool part – as it spread around the world, each culture put its own spin on it. British colonists fell in love with the stuff and brought it back to England, where it evolved into the fruit chutneys we know and love today.
Now, here’s where it gets fun. Apple chutney typically includes a mix of apples (duh!), onions, vinegar, sugar, and a blend of spices. But don’t let that fool you into thinking it’s simple. Oh no, my friend. The magic is in how these ingredients come together to create a complex flavor profile that’s simultaneously sweet, tart, and savory. It’s like a party in your mouth, and everyone’s invited!
I remember the first time I tried to explain chutney to my grandma. She looked at me like I had three heads when I told her it had onions and vinegar. “That’s not a dessert!” she exclaimed. And she was right – it’s so much more than that! It’s a versatile condiment that can elevate any dish from “meh” to “marvelous” faster than you can say “pass the chutney, please!”
So, whether you’re a chutney newbie or a seasoned pro, get ready to embark on a flavor adventure. Trust me, once you’ve tasted homemade apple chutney, you’ll never look at apples the same way again!
Choosing the Right Apples for Your Chutney
Listen up, folks, ’cause this is where the magic happens! Choosing the right apples for your chutney is like picking the perfect dance partner – get it right, and you’ll be waltzing your way to flavor town. Get it wrong, and well… let’s just say you might end up with a condiment catastrophe.
Now, I’ll let you in on a little secret – not all apples are created equal when it comes to chutney-making. I learned this the hard way when I used Red Delicious apples in my first batch. Let me tell you, that was a mistake I won’t be repeating anytime soon! Those apples turned into mush faster than you can say “oops,” and the flavor was about as exciting as watching paint dry.
So, what are the best apples for chutney? Drumroll, please… Granny Smith and Bramley apples are the superstars of the chutney world! These tart little troublemakers hold their shape beautifully during cooking and have just the right amount of acidity to balance out the sweetness. But don’t worry if you can’t find these varieties – other firm, tart apples like Honeycrisp, Pink Lady, or Braeburn will do the trick too.
Here’s a pro tip: mix it up! Using a combination of apple varieties can add depth and complexity to your chutney. It’s like creating your own little apple orchestra, with each variety bringing its unique flavor notes to the party.
When you’re at the store, look for apples that are firm and free from bruises. Give them a little squeeze – they should feel solid and heavy for their size. And for the love of all that’s holy, avoid any apples that feel soft or look wrinkly. Trust me, those sad specimens will not do your chutney any favors.
Now, let’s talk texture. You want your chutney to have some chunky bits of apple for that satisfying mouthfeel. So when you’re prepping your apples, don’t go all ninja on them with your knife. A rough chop will do just fine. Leave the peel on for extra fiber and a rustic look, or peel them if you prefer a smoother consistency. It’s your chutney, your rules!
Remember, folks – the key to great chutney is balance. You want apples that will stand up to the cooking process and hold their own against the bold flavors of onions, vinegar, and spices. Get this right, and you’ll be well on your way to chutney nirvana. So go forth, my friends, and may the apple-choosing gods be with you!
Essential Ingredients for Apple Chutney
Alright, chutney champions, it’s time to raid your pantry and round up the troops – I mean, ingredients – for our apple chutney extravaganza! Now, don’t panic if you’re missing something. Chutney is pretty forgiving, and I’ve made some of my best batches by throwing caution to the wind and getting creative with what I had on hand.
Let’s start with the star of the show – apples! We’ve already chatted about choosing the right varieties, so I won’t bore you with that again. Just remember: firm, tart, and ready to party!
Next up, we’ve got onions. I usually go for yellow onions, but red ones work too if you’re feeling fancy. Don’t skimp on these bad boys – they add a savory depth that’ll make your taste buds sing.
Step-by-Step Apple Chutney Recipe

Alright, chutney enthusiasts, it’s time to roll up those sleeves and get cooking! I’m about to walk you through my tried-and-true apple chutney recipe. Trust me, I’ve made this so many times I could probably do it blindfolded (though I don’t recommend trying that at home!).
Ingredients:
- 2 lbs tart apples (Granny Smith or Bramley), peeled, cored, and chopped
- 1 large onion, finely chopped
- 1 cup apple cider vinegar
- 1 cup brown sugar
- 1/2 cup raisins
- 2 tbsp grated fresh ginger
- 1 tsp ground cinnamon
- 1/4 tsp ground cloves
- 1/4 tsp salt
Instructions:
- First things first, grab your biggest, heaviest-bottomed pot. Trust me, you’ll thank me later when you’re not scrubbing burnt chutney off the bottom of your favorite saucepan.
- Toss all your ingredients into the pot. Yes, all of them! This recipe is as easy as it gets. Give everything a good stir to make sure it’s all mixed up nicely.
- Now, bring the mixture to a boil over medium-high heat. Once it’s bubbling away, reduce the heat to low and let it simmer. This is where the magic happens, folks!
- Here’s the tricky part – you need to let it simmer for about 30-40 minutes, stirring occasionally. And when I say occasionally, I mean don’t abandon your post! I once got distracted by a cat video (it was really cute, okay?) and came back to a pot of chutney that looked more like tar than a delicious condiment.
- As it simmers, you’ll notice the mixture starting to thicken. This is when you need to channel your inner chutney whisperer. You’re looking for a consistency that’s thick enough to coat the back of a spoon, but not so thick it’s turning into apple cement.
- Once you’ve reached that perfect consistency, take it off the heat and let it cool for a few minutes. Resist the urge to dive in with a spoon – that stuff is like molten lava!
Tips for Perfect Consistency:
- If your chutney is looking a bit too thin after 40 minutes, don’t panic! Just let it simmer a bit longer. Patience is a virtue in chutney-making.
- On the flip side, if it’s getting too thick too quickly, add a splash of water or apple juice to loosen it up.
- Remember, the chutney will continue to thicken as it cools, so it’s better to err on the side of slightly too runny than too thick.
Safety Considerations:
Now, I know safety isn’t the most exciting topic, but trust me, you don’t want to mess around when it comes to food preservation. Here are some crucial tips:
- Sterilize your jars and lids before filling them. You can do this by boiling them for 10 minutes or running them through a hot cycle in the dishwasher.
- When filling the jars, leave about 1/4 inch of headspace at the top. This is important for proper sealing.
- After filling, wipe the rims of the jars with a clean, damp cloth to ensure a good seal.
- If you’re planning to store your chutney at room temperature, you MUST process the jars in a water bath canner. Place the filled jars in the canner, ensure they’re covered by at least an inch of water, and process for 10 minutes (adjust for altitude if necessary).
- If you’re not comfortable with canning, no worries! You can store the chutney in the refrigerator for up to a month. Just make sure to let it cool completely before popping it in the fridge.
Remember, folks, food safety is no joke. I once thought I could skip the water bath process and ended up with a batch of chutney that… well, let’s just say it developed some interesting new life forms. Learn from my mistakes!
And there you have it – your very own homemade apple chutney! Whether you’re slathering it on a cheese board, dolloping it on a curry, or eating it straight from the jar (no judgment here), you’re in for a treat. Happy chutney-making, everyone!
Storing and Preserving Your Homemade Apple Chutney

Congratulations, chutney champion! You’ve successfully created a jar (or ten) of delicious apple chutney. But now comes the million-dollar question: how do we keep this liquid gold fresh and tasty? Don’t worry, I’ve got you covered. After all, I’ve learned these lessons the hard way – like that time I found a forgotten jar of chutney at the back of my pantry. Let’s just say it was… an experience.
Proper Canning Techniques:
- Sterilize your jars and lids. I like to run them through the dishwasher on the hottest setting, or you can boil them for 10 minutes.
- Fill your jars with hot chutney, leaving about 1/4 inch of headspace at the top. This is crucial, folks! Too little space and your jars might explode during processing. Too much and you might not get a proper seal.
- Wipe the rims of the jars with a clean, damp cloth. Any residue can prevent a good seal.
- Place the lids on and screw on the bands until they’re fingertip-tight. Don’t hulk out on them!
- Process the jars in a boiling water bath for 10 minutes (adjust for altitude if you’re in the mountains).
- Remove jars and let them cool undisturbed for 24 hours. You’ll hear a satisfying ‘pop’ as they seal. It’s like music to a chutney maker’s ears!
Refrigeration Guidelines:
- If you’re not canning your chutney, it’ll keep in the fridge for about 2-3 weeks.
- Always use a clean spoon when scooping out chutney. Double-dipping is a no-no!
- If you see any signs of mold, odd colors, or if it smells off – toss it. Better safe than sorry!
Shelf Life and Storage Tips:
- Properly canned chutney can last up to a year in a cool, dark place. I like to store mine in the pantry, away from direct sunlight.
- Once opened, refrigerate and use within a month.
- Label your jars with the date. Trust me, you think you’ll remember, but you won’t.
- Store jars upright to maintain the seal.
- Check seals before using. If the lid pops up when pressed, it’s not sealed properly.
Here’s a pro tip: make smaller batches more frequently rather than one huge batch. This way, you always have fresh chutney on hand. Plus, it gives you an excuse to experiment with different flavors!
Remember, homemade chutney doesn’t have preservatives like store-bought versions. So while it might not last as long, it tastes a hundred times better. And let’s be honest, it probably won’t last long anyway once people taste how delicious it is!
So there you have it, folks. With these storage tips, you’ll be able to enjoy your homemade apple chutney for months to come. Just try not to eat it all in one sitting – not that I’m speaking from experience or anything!
Storing and Preserving Your Homemade Apple Chutney
Alright, chutney champions! You’ve made it this far, and now it’s time to talk about keeping that delicious apple goodness fresh and safe. Trust me, I’ve learned these lessons the hard way (RIP to that one batch I found hiding behind the pickles after a year).
Proper Canning Techniques:
- Water Bath Canning: This is your go-to method for high-acid foods like our apple chutney.
- Sterilize your jars and lids in boiling water for 10 minutes.
- Fill jars with hot chutney, leaving 1/4 inch headspace.
- Wipe rims, apply lids, and screw on bands fingertip-tight.
- Process in a boiling water bath for 10 minutes (adjust for altitude).
- Let cool for 12-24 hours before checking seals.
I once forgot to adjust for altitude when I made chutney at my cousin’s mountain cabin. Let’s just say the results were… explosive!
Refrigeration Guidelines:
If you’re not up for canning (no judgment here, it can be intimidating), refrigeration is your friend:
- Cool chutney completely before refrigerating.
- Store in airtight containers or jars.
- Refrigerated chutney lasts about 1 month.
Pro tip: Label your containers with the date. Trust me, “I’ll remember when I made this” is a lie we all tell ourselves.
Shelf Life and Storage Tips:
- Properly canned chutney: 12-18 months in a cool, dark place.
- Opened jar: Refrigerate and use within 1 month.
- Freezing: Yes, you can freeze chutney! It’ll last 6-8 months.
Remember, when in doubt, throw it out. I once tried to salvage a questionable jar of chutney. My stomach still hasn’t forgiven me.
Creative Ways to Use Apple Chutney
Buckle up, buttercup! We’re about to take your taste buds on a wild ride with these creative uses for your apple chutney.
Pairing Suggestions with Cheese and Meats:
- 1.Cheese Board Superstar:
- Sharp cheddar + apple chutney = match made in heaven
- Creamy brie + apple chutney = fancy pants appetizer
- Goat cheese + apple chutney = tangy explosion
- 2.Meat Madness:
- Slather on roast beef for a sweet and tangy glaze
- Mix with mayo for the ultimate turkey sandwich spread
- Dollop on grilled chicken for a quick flavor boost
Recipe Ideas Incorporating Apple Chutney:
- 1.Chutney Grilled Cheese: Spread chutney between cheese slices before grilling. Mind. Blown.
2.Apple Chutney Beef Meatballs: Mix chutney into your favorite beef meatball recipe for a sweet and savory twist.
3.Chutney-Stuffed Beef Chops: Cut a pocket in beef chops, stuff with chutney, and bake. You’re welcome
Unexpected Uses for Apple Chutney in Cooking:
- 1.Salad Dressing: Blend chutney with olive oil and vinegar for a unique vinaigrette.
- 2.Pizza Topping: Yes, you read that right. Try it with prosciutto and arugula. It’s life-changing.
- 3.Ice Cream Topper: A small dollop on vanilla ice cream. Trust me on this one.
I once accidentally spilled chutney on my pancakes. Turns out, happy accidents are real!
Conclusion:
Well, folks, we’ve come to the end of our chutney adventure. Who knew apples, vinegar, and a bunch of other stuff could create such magic? Let’s recap:
- 1.Making apple chutney is easier than teaching your grandma to use a smartphone.
- 2.It’s versatile enough to go from cheese boards to ice cream (yes, really).
- 3.Proper storage means you can enjoy your chutney creation for months to come.
Remember, recipes are just guidelines. Don’t be afraid to experiment! Add some chili flakes for heat, swap raisins for cranberries, or throw in some nutmeg. The chutney world is your oyster (though I wouldn’t recommend oyster chutney).
Now, I want to hear from you! Did you try the recipe? What crazy chutney combinations have you come up with? Any epic chutney fails? Share your experiences in the comments below. And if you have any questions, ask away! I’m here to spread the chutney love.
So go forth, my chutney disciples, and spread the tangy-sweet gospel. Your taste buds will thank you, your cheese boards will thank you, and who knows? You might just become the go-to chutney guru in your friend group. Now that’s a title worth preserving!

